Getting started

1. Environment Setup
1.1 Install CP2104 driver
1.2 Install the download tool IDE

Download the installation package kflash_GUI: Click here to download
Open the folder after unzipping

Find kflash_gui.exe, double-click to open it directly
Note
In order to facilitate the next use, it is recommended to save the exe file as a shortcut to the desktop
2. Parameter introduction
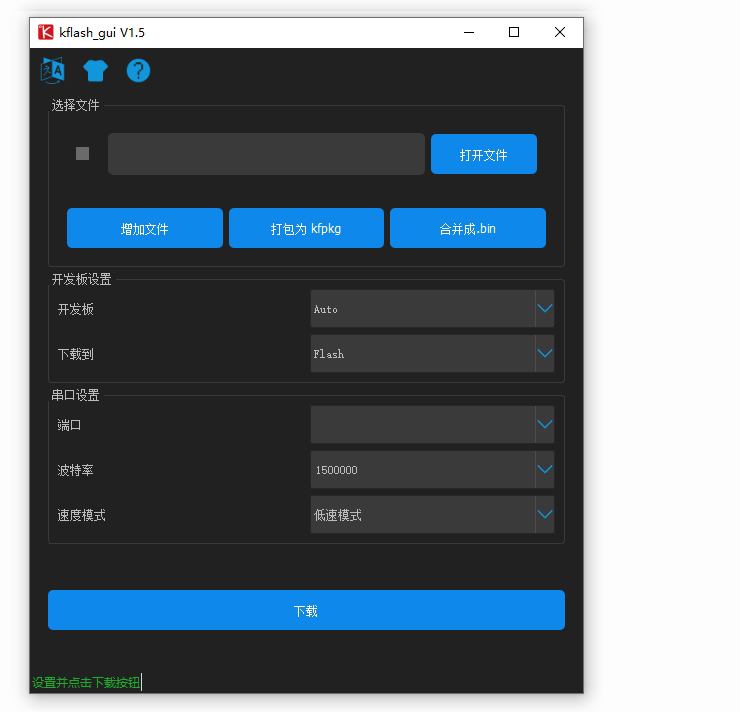
kflash_GUI See below for setting operation:
开发板(Board):Select Auto, automatic configuration下载到(Download to):Select Flash and download to Flash端口(Port):Select the automatically generated COM port波特率(Baud):Choose 1500000速度模式(Speed mode):Choose low speed
Important
If the COM port cannot be read, please check if the driver is installed
3. Upload firmware
3.1 Download factory firmware
First download the K210 firmware: Click here to download
3.2 Burn settings
开发板(Board):Select Auto, automatic configuration下载到(Download to):Select Flash and download to Flash端口(Port):Select the automatically generated COM port波特率(Baud):Choose 1500000速度模式(Speed mode):Choose low speed
3.3 Start burning

4. Normal use
After burning successfully, there will be three modes
4.2 Test mode
The following operations are required to turn on the camera display
1.Power supply2.Press and hold the button next to the USB port3.Let go when you see the screen light up
Important
Remember to press the button after power on, otherwise it will enter upload mode
4.3 Upload mode
Press and hold the button before power on to enter upload mode But to avoid this